Sometime within the last five years, I had the idea to experiment with Ilford Direct Positive Paper in the 4×5 format. It wasn’t until last March, while rummaging through my film fridge, that I stumbled upon the forgotten box of now expired paper. This rediscovery prompted me to pair the direct positive paper with my newly acquired Tachihara 4×5 Field Camera. Realizing there were some items I should have researched when I bought the paper, I needed to buy a few things before I could develop the images. First, I promptly ordered Ilford Multigrade Developer online. When it arrived, I made a trip to the local dollar store to buy inexpensive plastic containers suitable for holding the necessary chemistry for developing the positive paper. The final item on my list was a red light, essential for the darkroom work. I found a suitable LED puck-shaped light at Wal-Mart for a mere $5.
Ilford Direct Positive Paper boasts a slow 1 to 3 ISO rating, ideally suited for aficionados of pinhole photography. Online images captured with pinhole cameras on positive paper consistently exhibit a high degree of contrast. Further diving down the rabbit hole of direct positive paper, I watched YouTube videos that showcased images achieved through techniques such as pre-flashing the paper in a darkroom with a developer or within a pinhole camera using a flashlight. These methods grant photographers greater control over contrast levels.
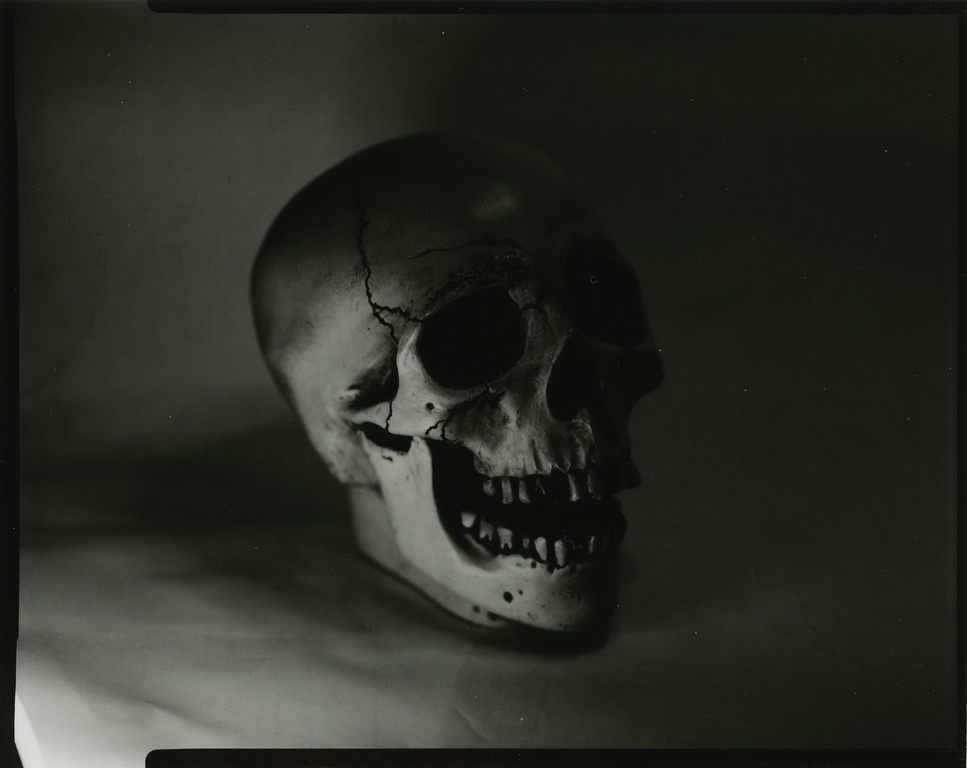
Equipped with two 4×5 sheet holders loaded with four sheets of direct positive paper, I arranged a test area. My chosen subject—a skull I purchased at Main Street USA in Disneyland back in 1985—was illuminated by two LED lights against a white backdrop, providing an ideal trial scenario. I metered the scene using an app on my phone and documented the f-stop and shutter speed for each shot. During the development process, I witnessed the gradual emergence of the image on the paper. Initially I developed the first two images for a minute and a half. Then I altered my approach, opting to adjust the development process to my liking before proceeding to the stop bath, fixer, and final wash. As I scanned these images, a thought struck me: “Why did I wait so long to try this? It’s so cool!” In the future, I’ll be shooting more direct positive paper in my 4×5 cameras. I also have a newly constructed wooden 4×5 pinhole camera on the way from Reality So Subtle in France that should arrive by the end of the month.

Skull – ISO 3 – f/8 @ 3 seconds
Camera: Tachihara 4×5 Field Camera (1979)
Paper: Ilford Direct Positive Black and White Paper
Process: Ilford Multigrade ~1:30 Min @ 20°C
Scanned: Epson V700 Photo
Skull – ISO 3 – f/16 @ 8 seconds
Camera: Tachihara 4×5 Field Camera (1979)
Paper: Ilford Direct Positive Black and White Paper
Process: Ilford Multigrade ~1:30 Min @ 20°C
Scanned: Epson V700 Photo

Skull – ISO 3 – f/5.6 @ 2 seconds
Camera: Tachihara 4×5 Field Camera (1979)
Paper: Ilford Direct Positive Black and White Paper
Process: Ilford Multigrade ~1:30 Min @ 20°C
Scanned: Epson V700 Photo

Skull – ISO 3 – f/22 @ 23 seconds
Camera: Tachihara 4×5 Field Camera (1979)
Paper: Ilford Direct Positive Black and White Paper
Process: Ilford Multigrade ~1:30 Min @ 20°C
Scanned: Epson V700 Photo

Good going! And I have an extra red bulb if you would like it. It’s actually red glass not painted. And what are you using for a safe light when you process paper prints? M
>
LikeLike
Maurice, thanks for the offer. I bought a proper red light from ZebraDryPlates.com (https://zebradryplates.com/product/zebra-all-in-one-pocket-dakroom-safelight/) when I ordered some 4×5 dry plates. I haven’t used it yet, but it’s small, dimable, and plugs into a USB power pack.
LikeLike
Fascinating article. Looks like fun !
Thanks for sharing.
LikeLike