The 6X Mini from Ron Zorman Photography is a precisely engineered, 3D-printed system designed for large-format cameras with a Graflok back. It has three main components: an adapter that attaches to the camera, a ground-glass viewfinder for composing and focusing, and a roll-film back that holds 120 film.
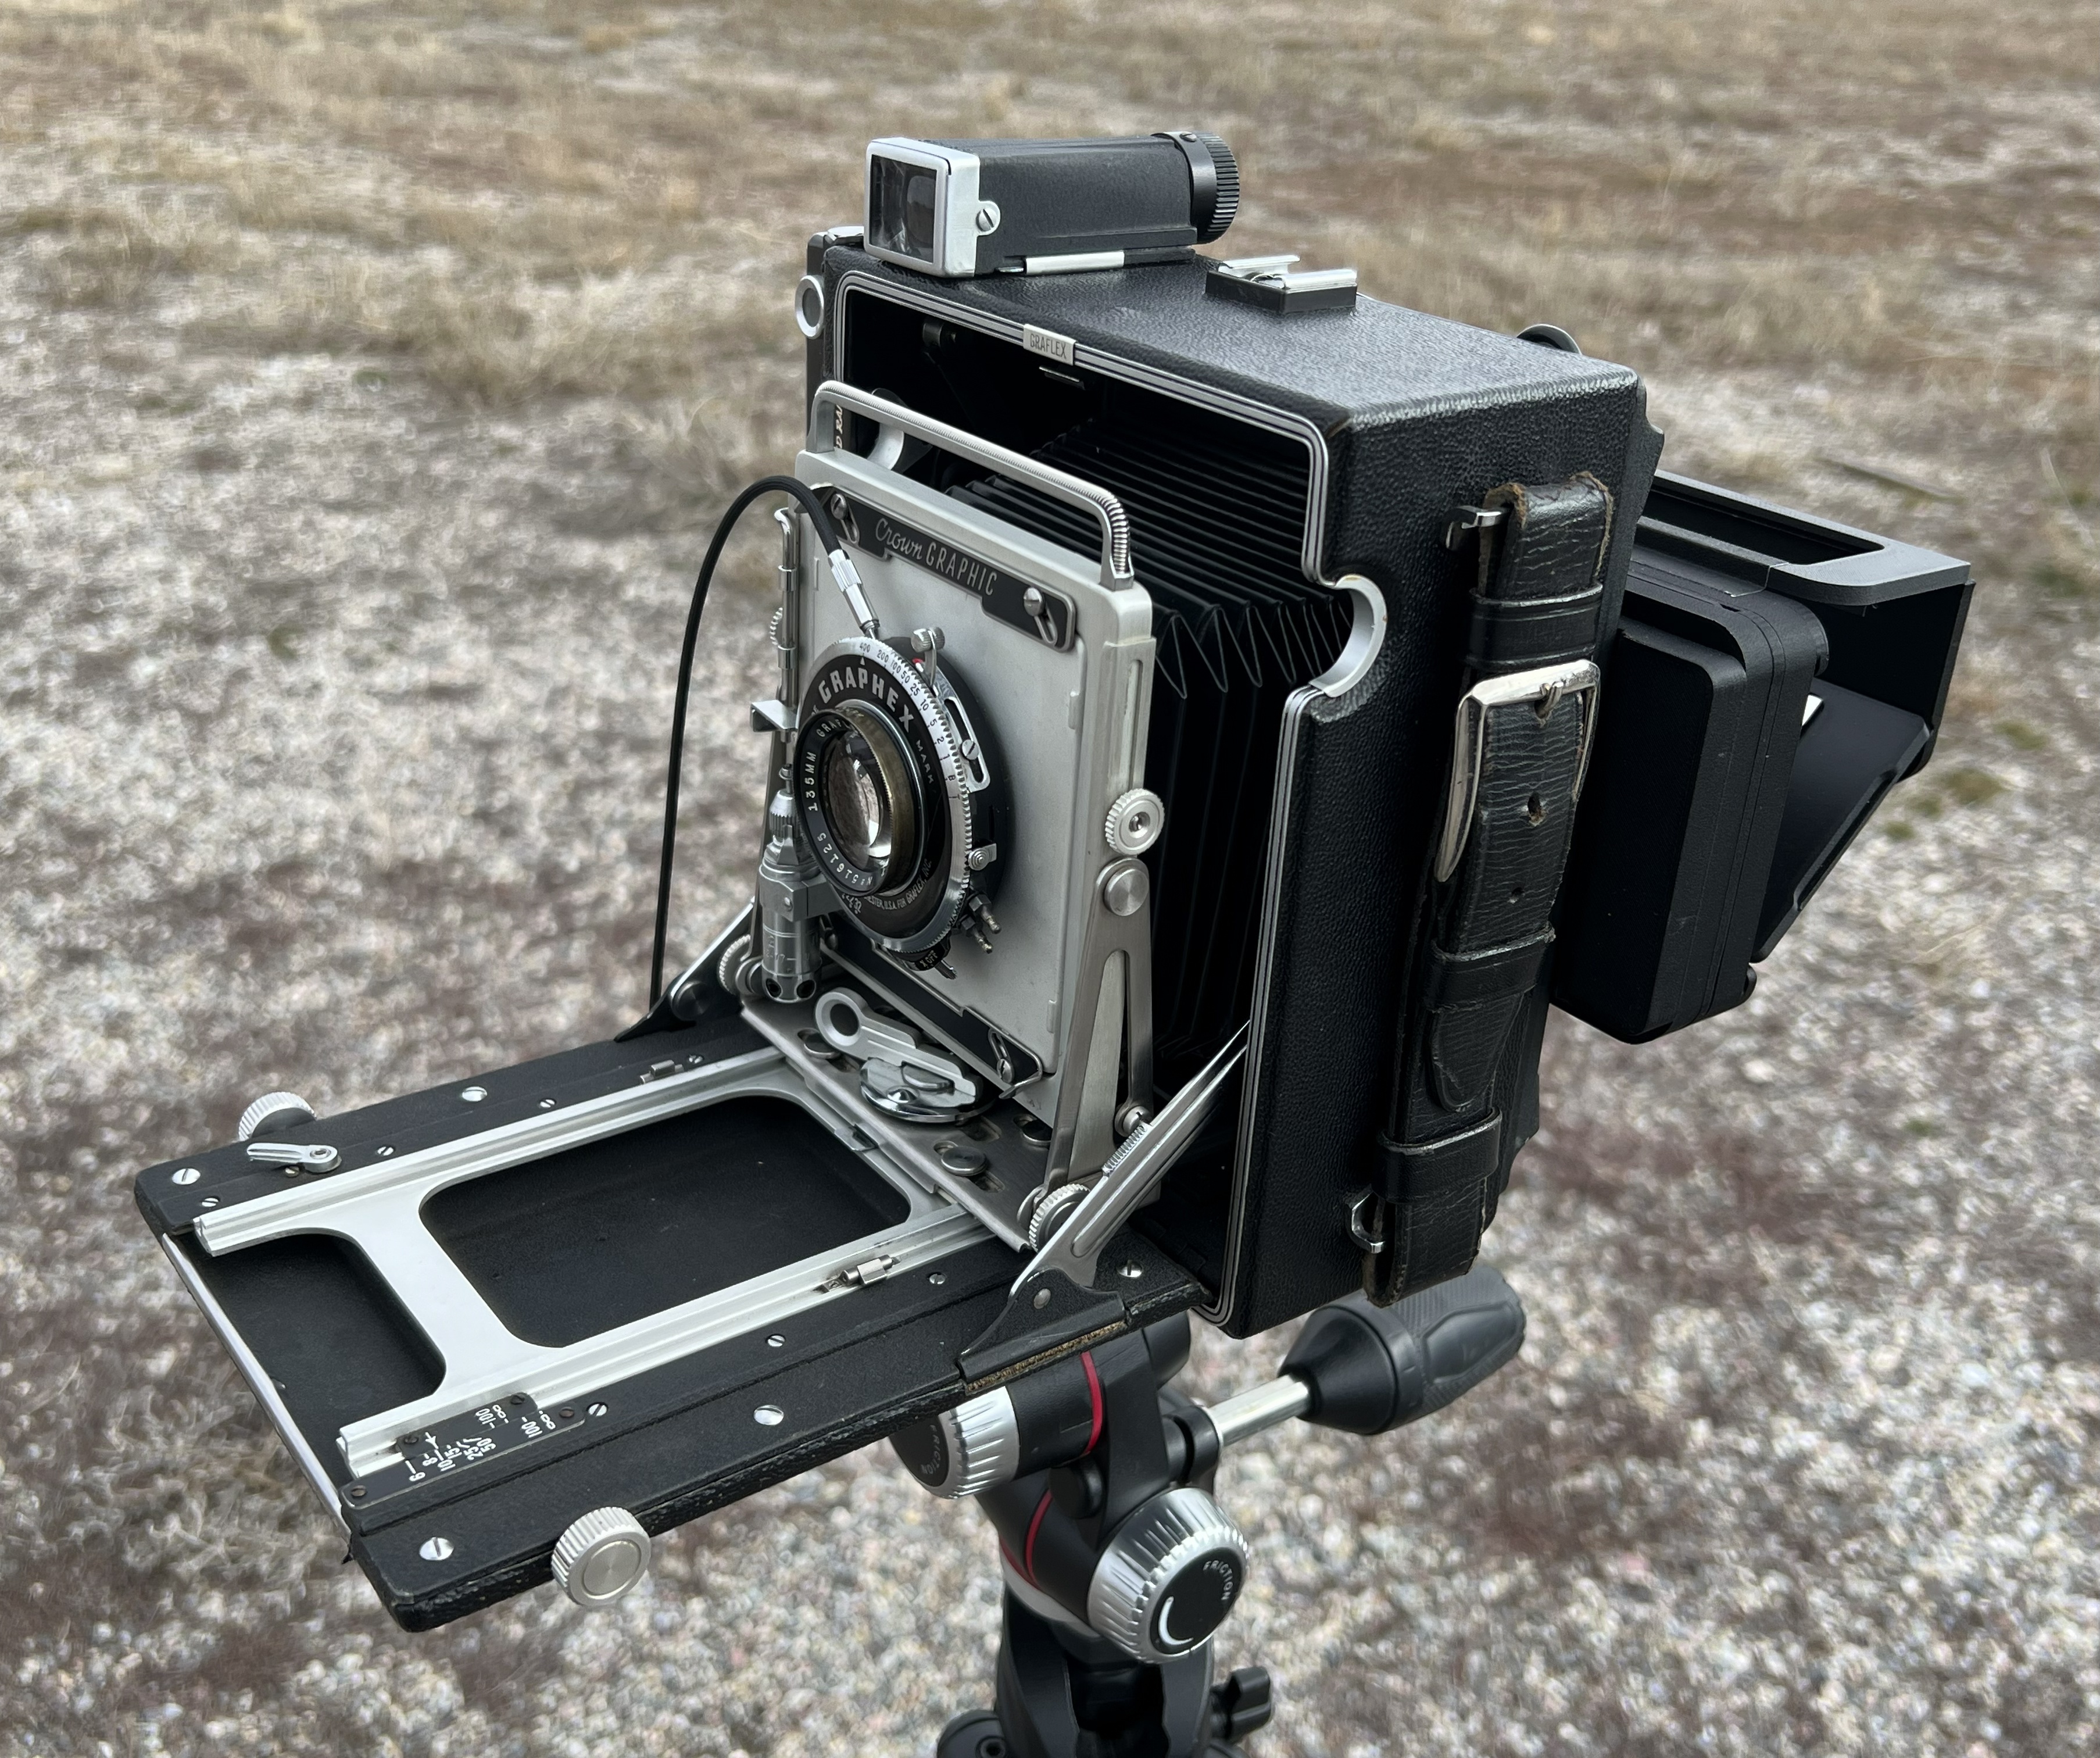
Here’s what it’s like to shoot with the 6X Mini. I used it with my 1955 Graflex Pacemaker fitted with a 135mm Graflex Optar f/4.7–32 lens with shutter speeds from 1/400 second to 1 second. To begin, remove the camera’s ground glass and attach the 6X Mini adapter in its place. The adapter remains mounted when switching between the viewfinder and roll-film back. Embedded magnets in each component create a light-tight connection and make swapping parts quick and convenient.
Next, attach the viewfinder to the camera-back adapter; embedded magnets snap it securely into place. Open the viewfinder and slide the magnifier left or right to compose and focus the panoramic image. Its right-angle design lets you look down into a mirror reflecting the ground-glass image. You can also move the upper assembly aside to attach another right-angle finder, such as the Kiev TL66, or use a loupe directly on the ground glass. In practice, it works much like the camera’s standard ground glass, helping you refine composition and focus. I use the included right-angle magnifier. Before storing the viewfinder, slide the magnifier fully to the right and fold the assembly flat so it fits easily in a camera bag.
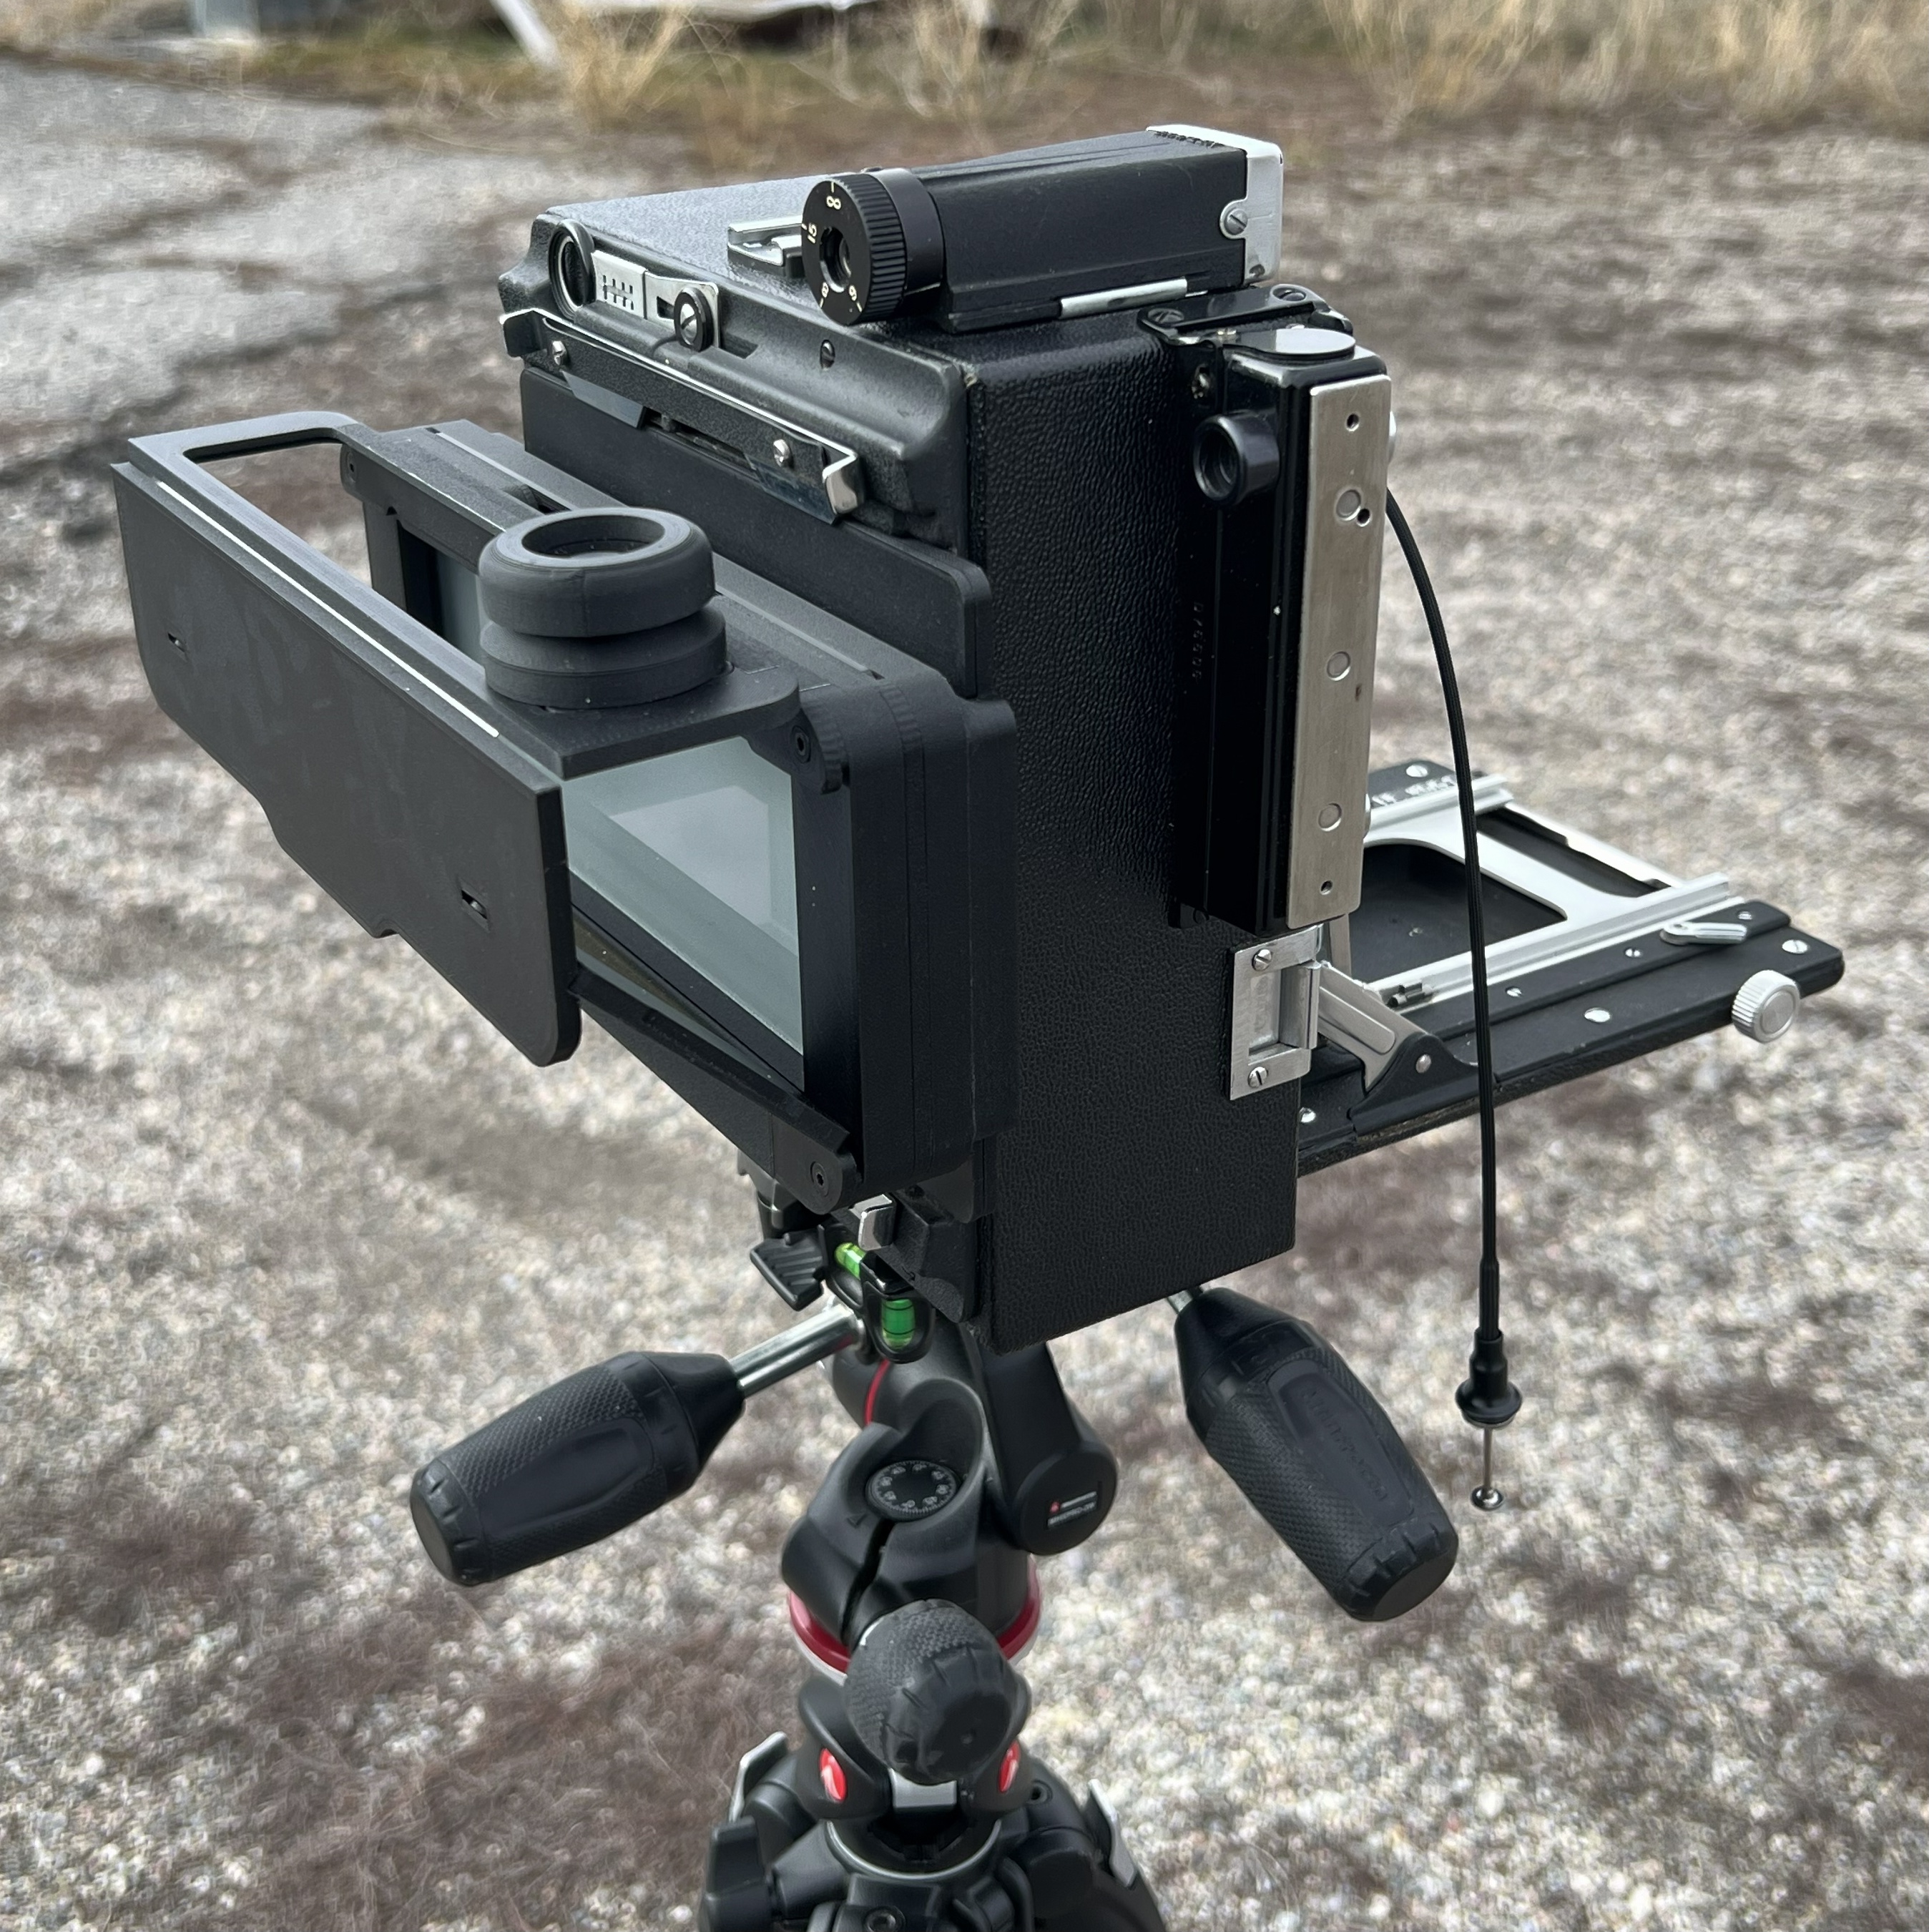
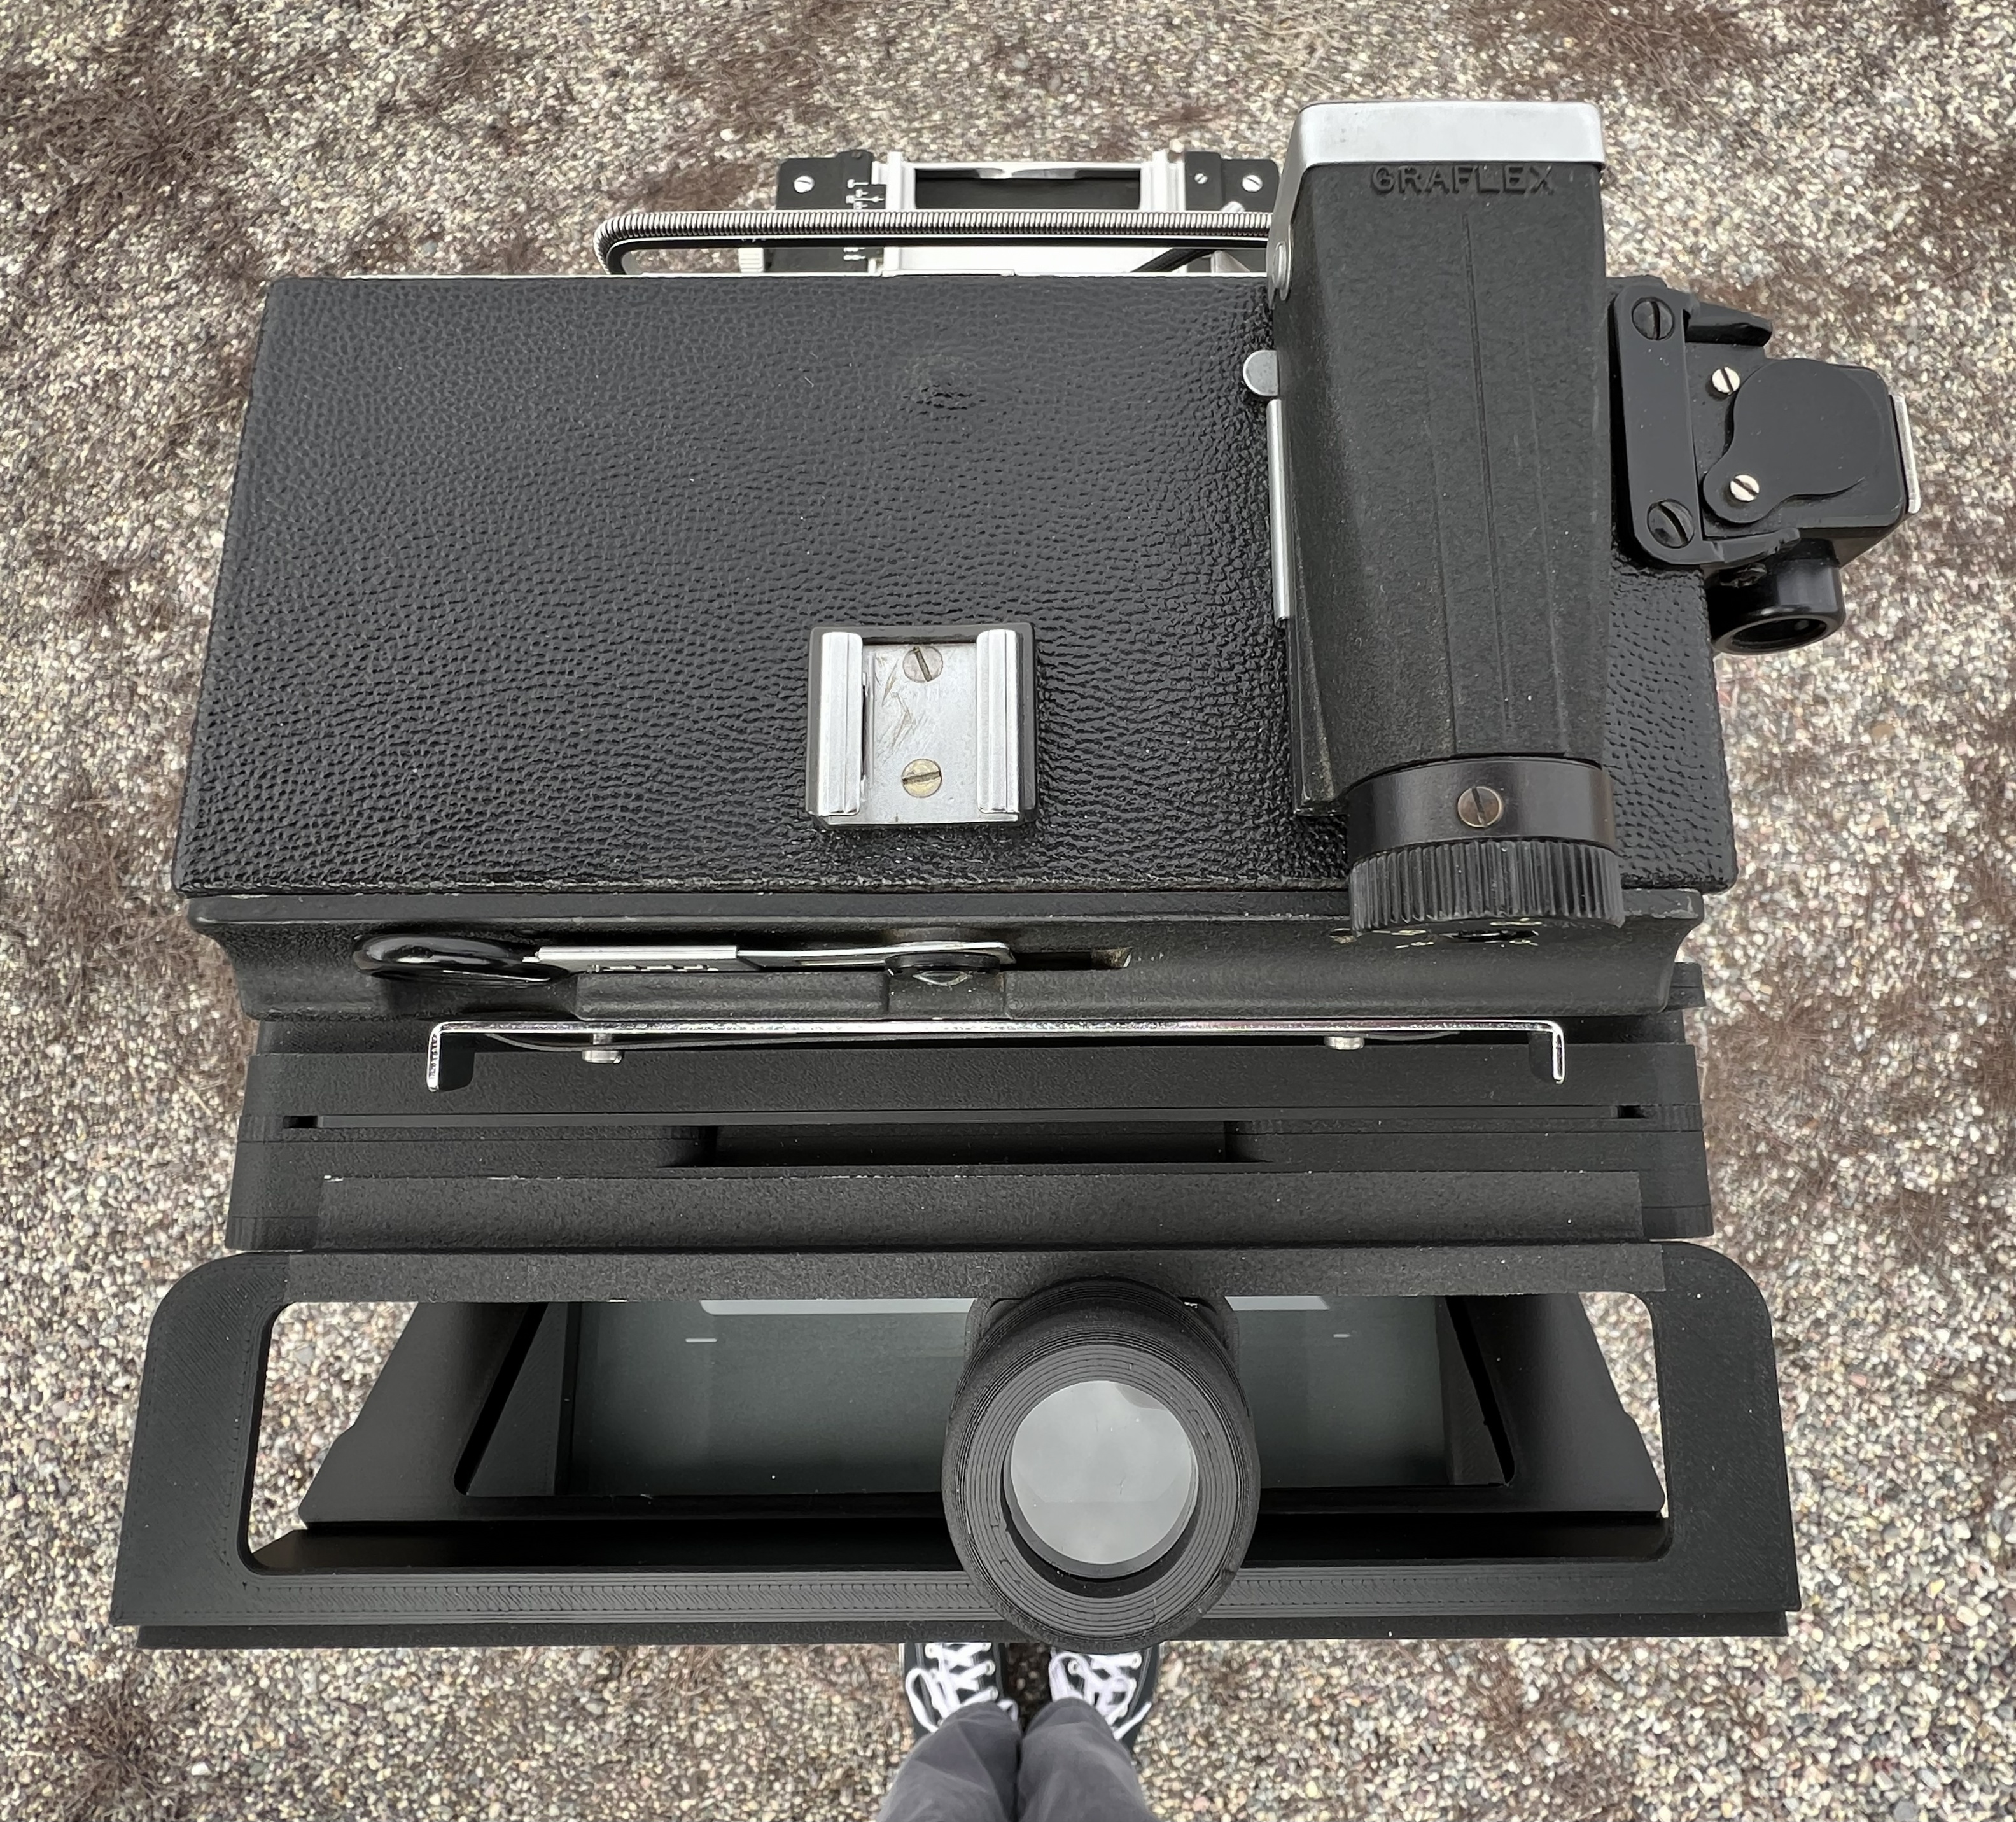
Once the image is composed, remove the viewfinder and attach the 120 roll-film back. The back contains several components; rather than explain its internal assembly here, I recommend Ron’s video, which demonstrates the process clearly. Instead, I’ll briefly summarize how it works. Film advances from left to right onto the take-up spool on the right. Sliding selectors on the back indicate which frame numbers to use for each size: for 6×17, use frames 1, 3, 5, and 7; for 6×7 or 6×9, use frames 1 through 8; for 6×10 or 6×12, use frames 2, 4, 6, 8, 10, and 12; and for 6×6, use frames 1 through 12. The selected frame numbers appear in the red window. For 6×14, move the bottom selector to the right after each exposure to create proper spacing between images. For 6×4.5, place the bottom selector in the center and use frames 1 through 16. If that sounds confusing, don’t worry—Ron’s video explains it more clearly, and the system makes sense once you understand how the film advances through the back.
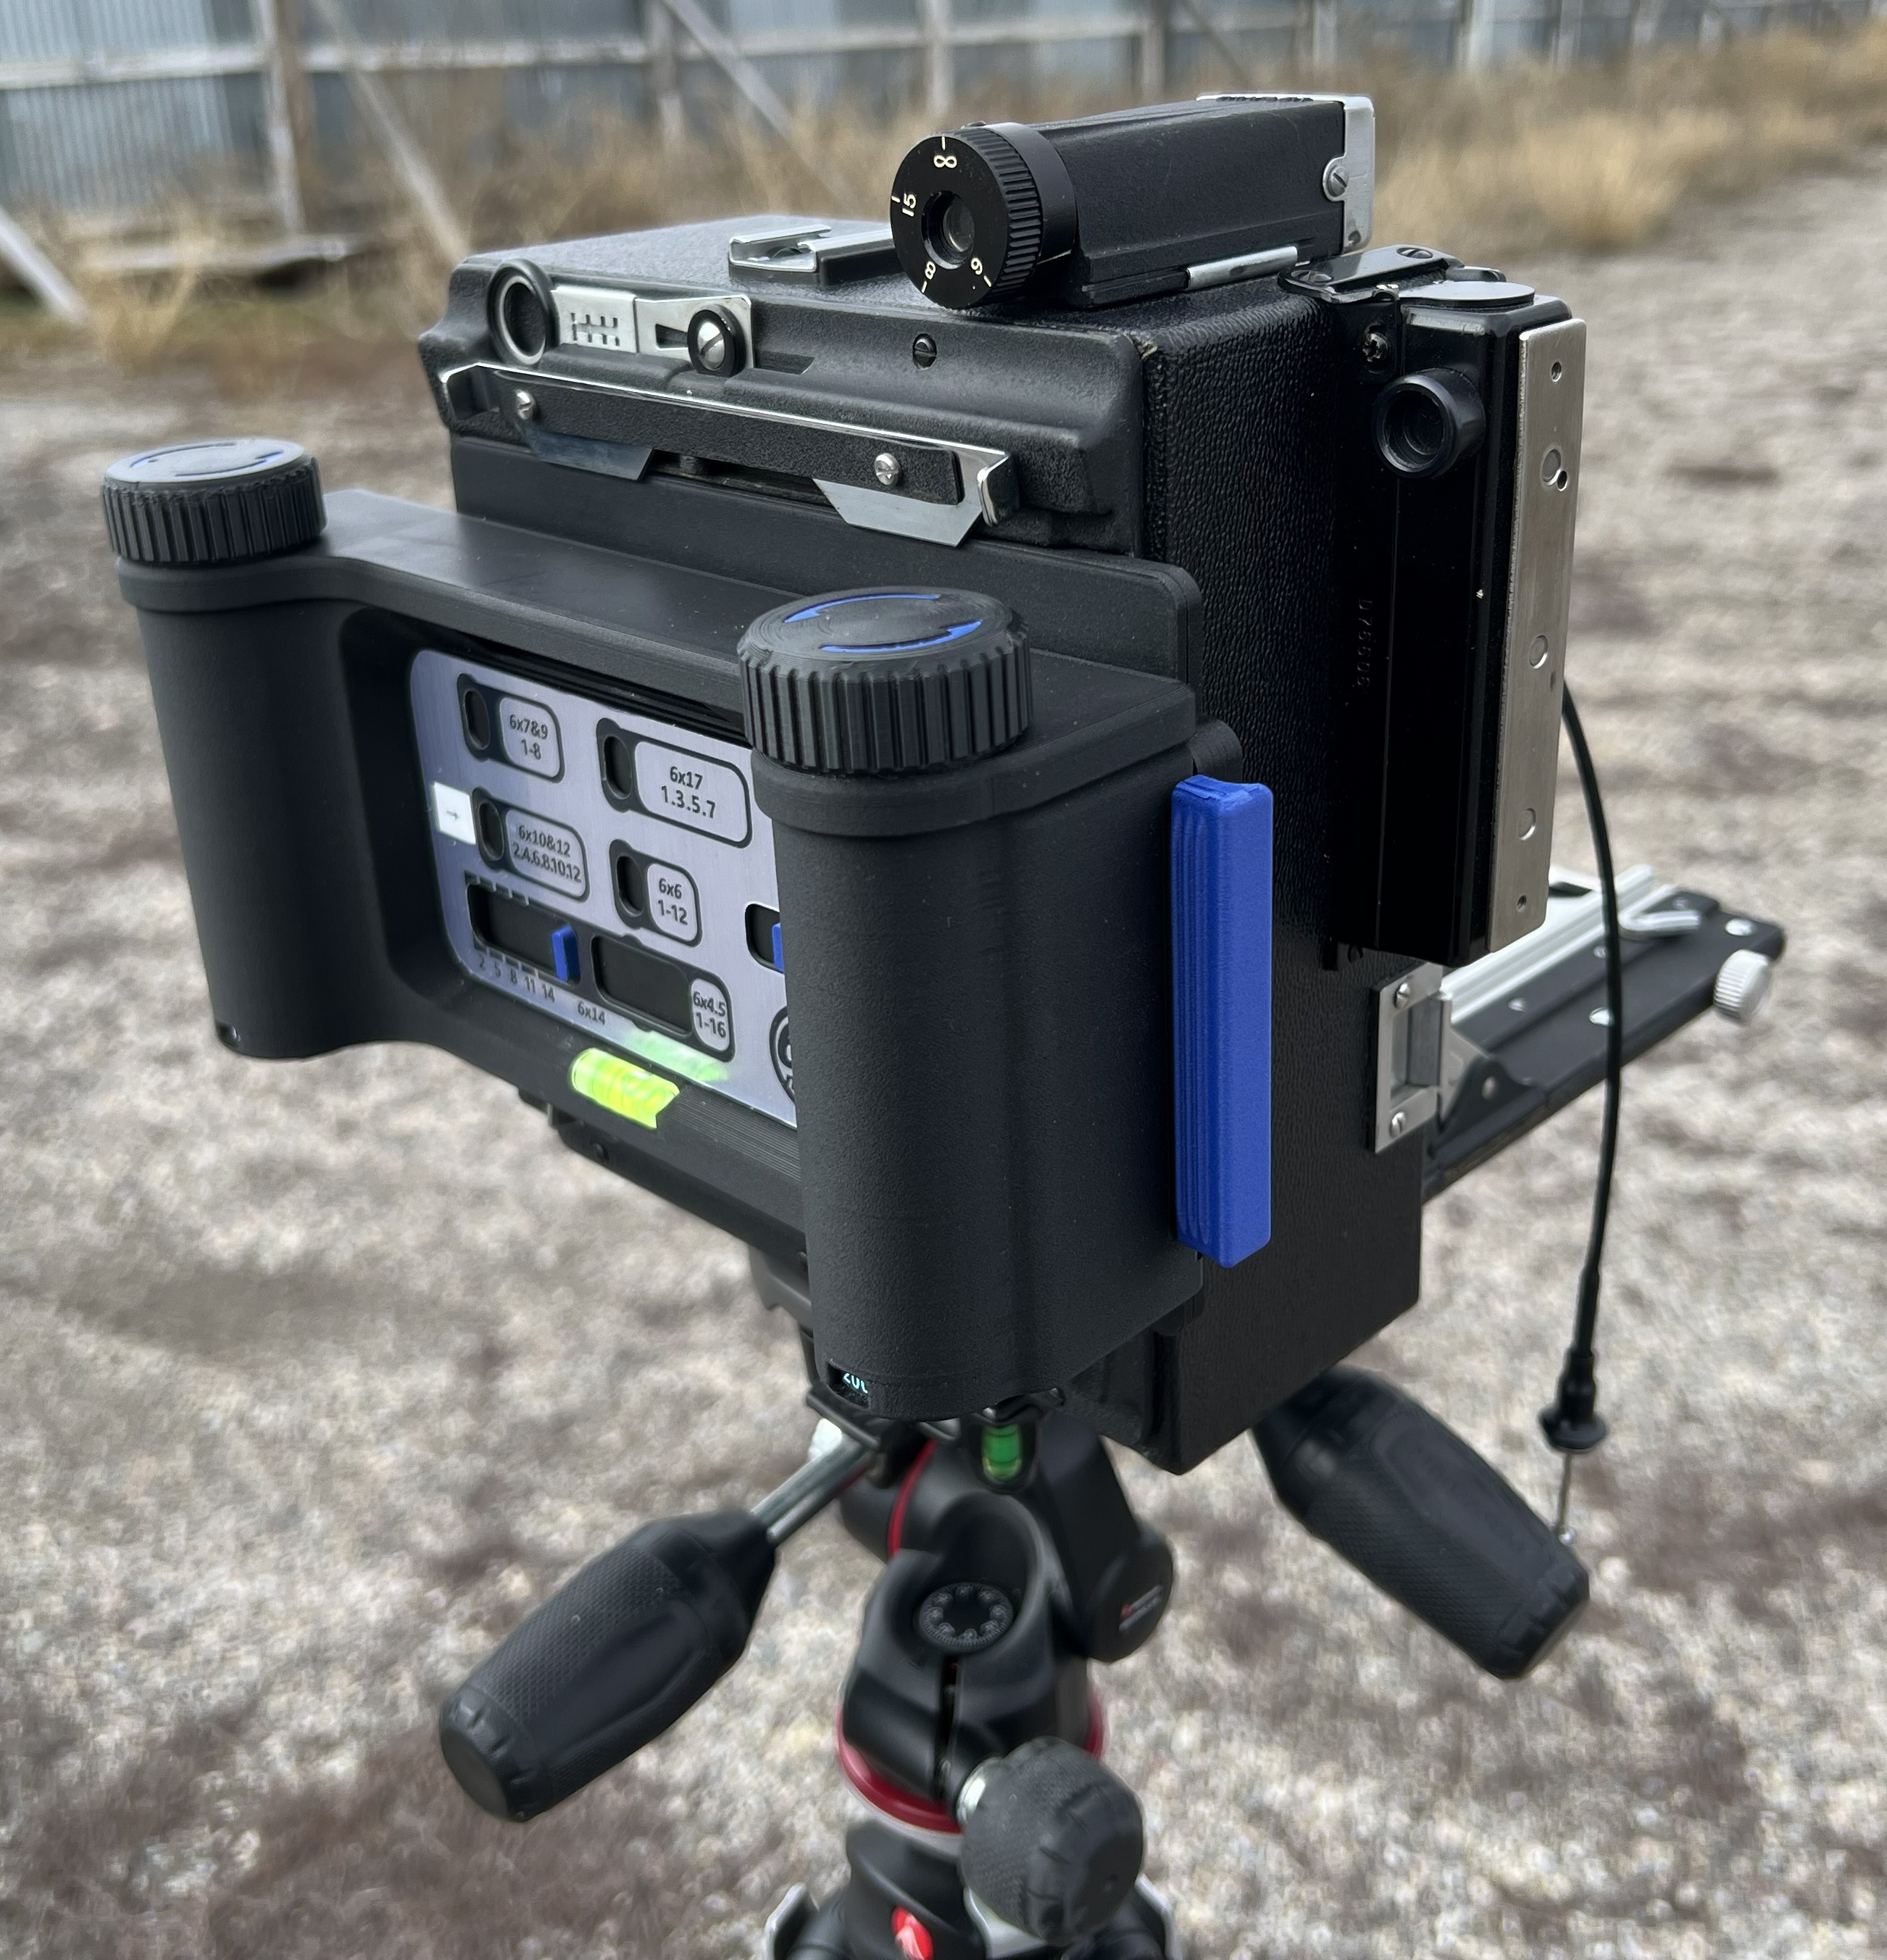
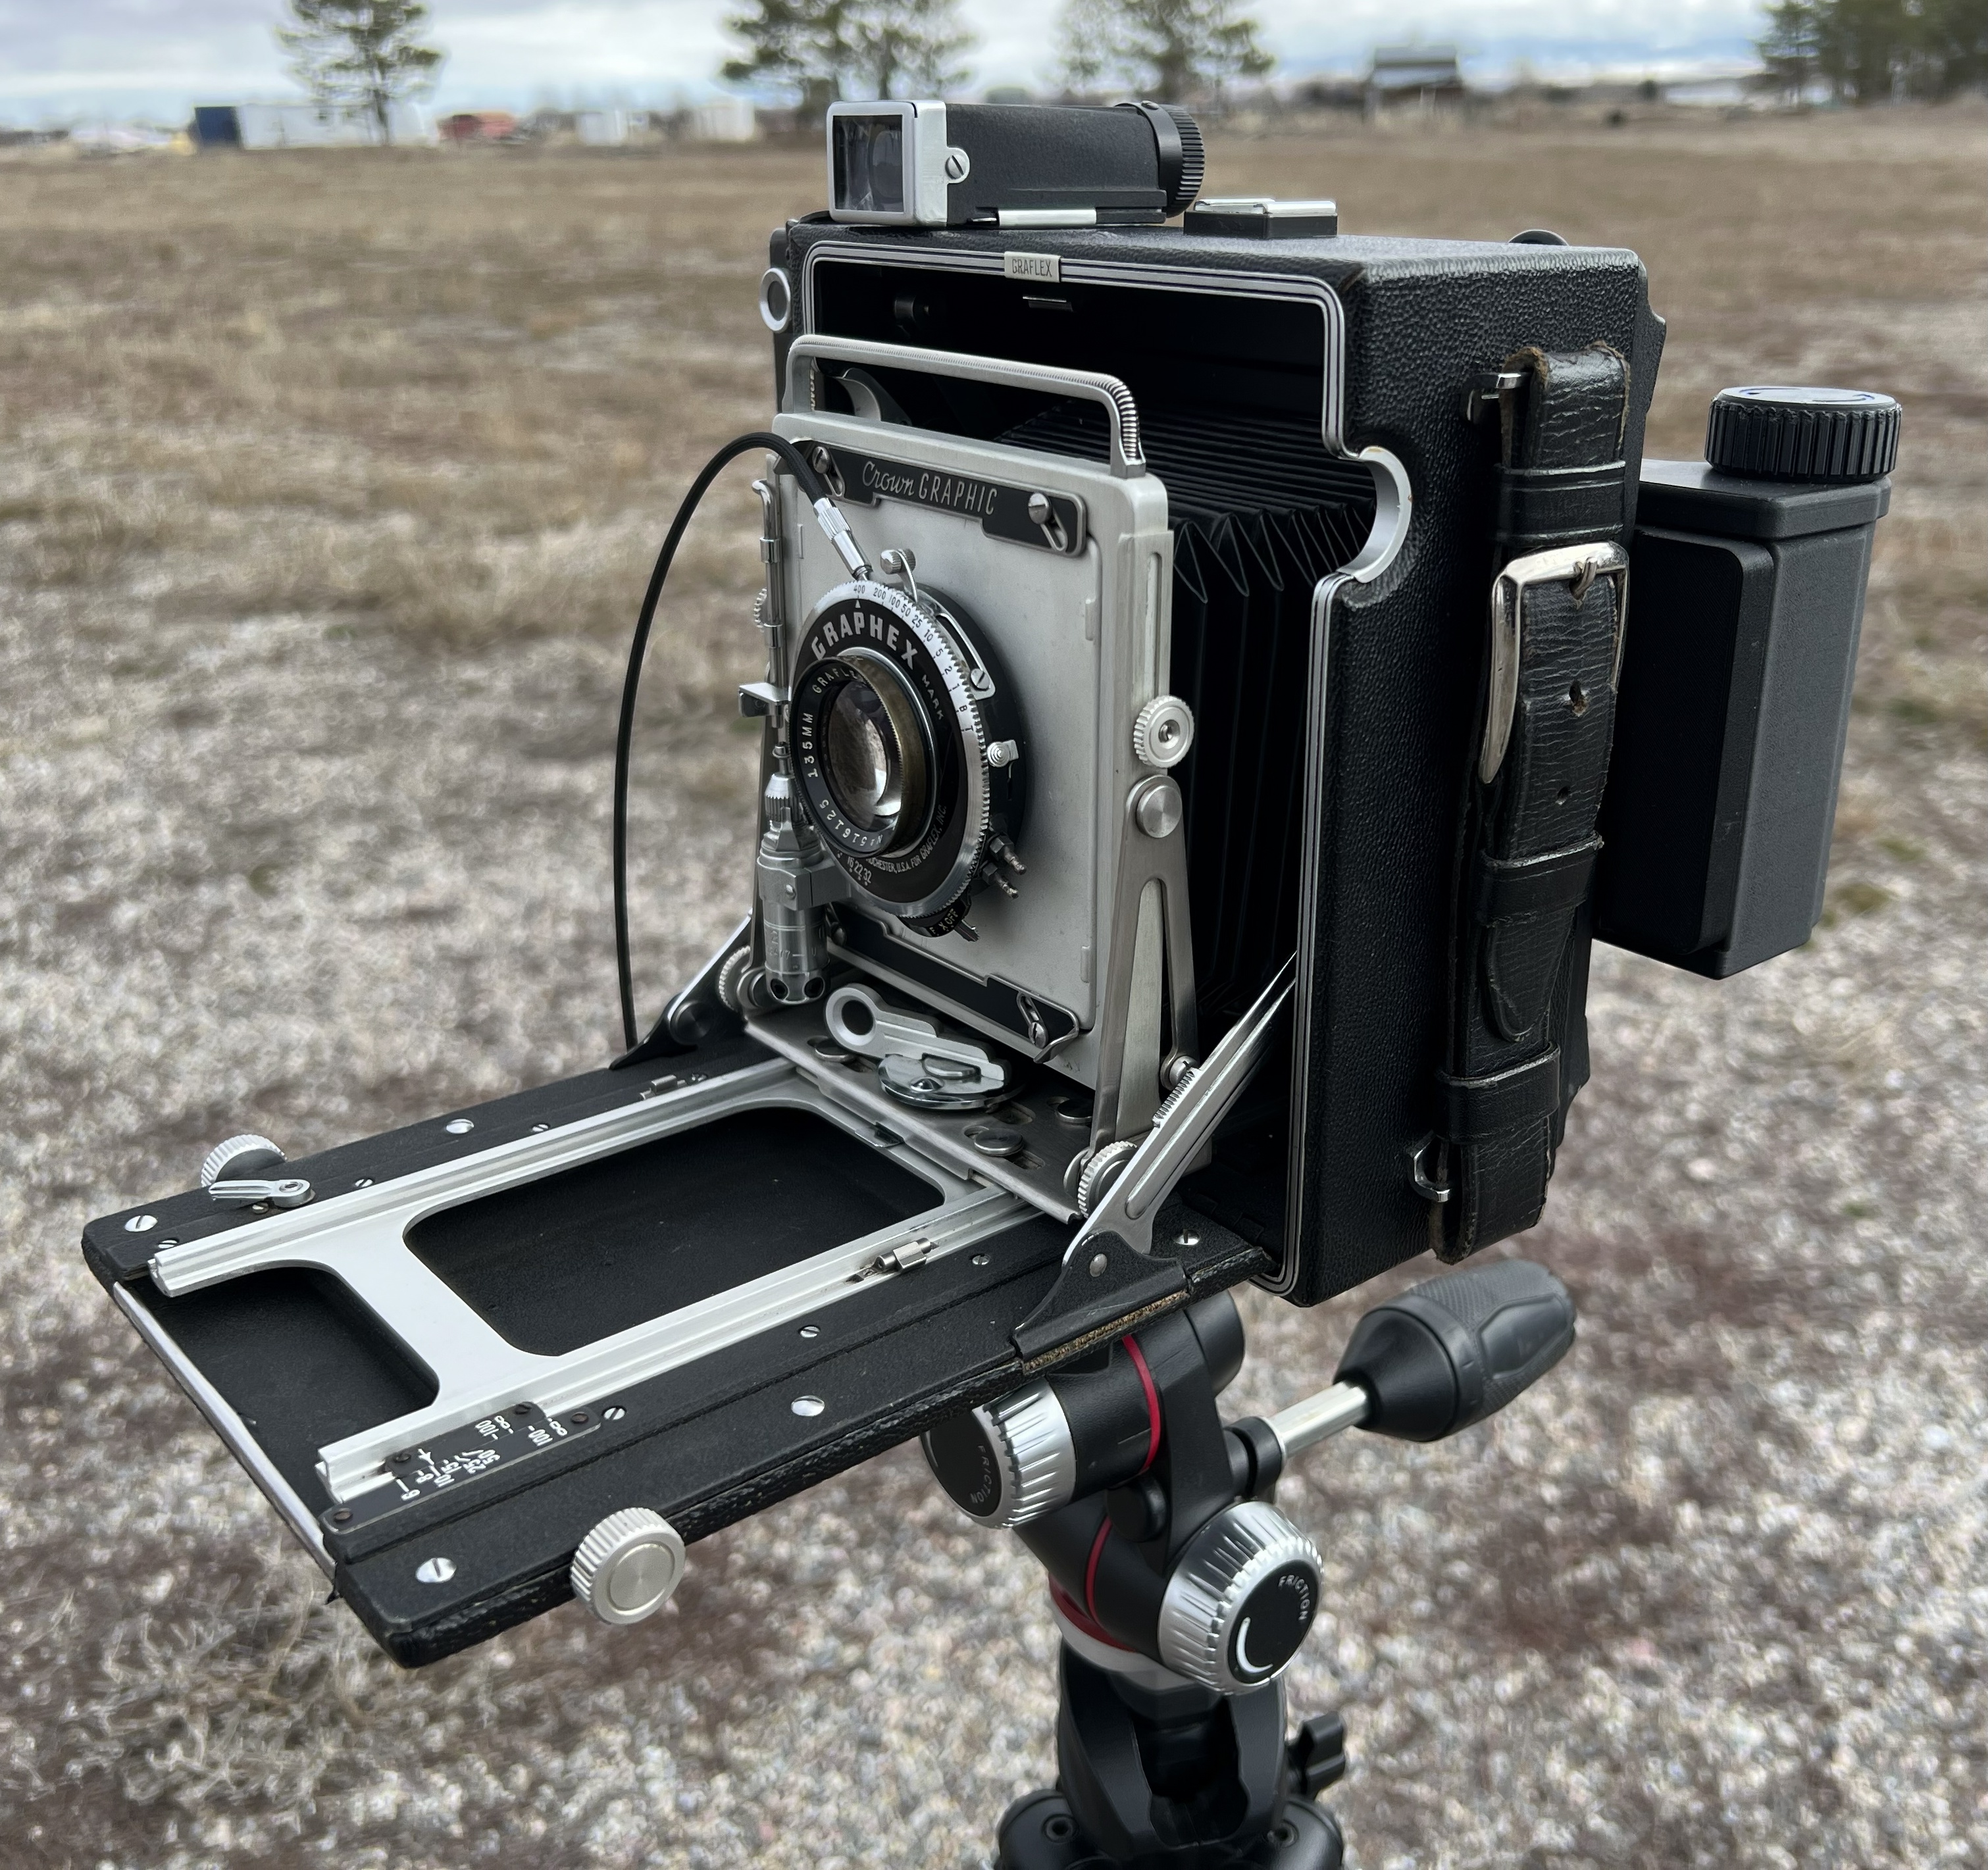
After composing, focusing, metering, and setting the lens, remove the dark slide from the roll-film back and make the exposure. The 6X Mini also includes a protective cover plate. When it isn’t protecting the viewfinder, place it on the roll-film back as an extra shield against light reaching the dark slide and film.
As I mentioned in a July post, I’m new to 3D printing. After creating a few simple designs of my own, I’m even more impressed by the precision and care Ron has put into this project. Unlike many creators online, he doesn’t share his .STL files—and for good reason. By producing each 6X Mini himself, Ron can maintain consistent quality. After printing and assembling mine, he tested it with his own time and film, then sent me the resulting images to confirm that it worked properly. That level of quality control would be difficult to maintain if the design were available to anyone with a 3D printer.
Current options for shooting panoramic images on 120 film can be expensive. Dedicated cameras, such as the Shen Hao 6×17 and the reintroduced, re-engineered Wideluxx, command premium prices. Vintage models—including the Fuji GX617, Linhof Technorama 612/617, and Horseman WS612—can also be costly. In contrast, the 6X Mini is far more affordable for me. Ron listened to what I wanted to accomplish and built my complete kit—adapter, viewfinder, and roll-film back—for less than $300 USD.
After spending time with the 6X Mini, I’ve identified what I like most and where it has limitations. The pros highlight the features I genuinely enjoy, while the cons are expected tradeoffs rather than solid deal breakers.
Pros
- Far less expensive than dedicated panoramic 120 cameras
- Lightweight, compact 3D-printed design
- Precise construction with strong quality control
- Magnetic components make switching between components quick and easy
- Uses existing 4×5 cameras with a Graflok back
- Interchangeable focusing options, including the supplied magnifier, compatible finders, or a loupe
- Can photograph in multiple sizes: 6×17, 6×12, 6×10, 6×9, 6×7, 6×6, & 6×4.5
Cons
- Requires a compatible 4×5 camera with a Graflok back
- Frame-number settings on roll-film back can take time to learn
- Composing on ground glass may be dim without an upgraded screen or finder
- Not an all-in-one camera, so there are three separate components to carry
- Availability depends on small-scale, made-to-order production
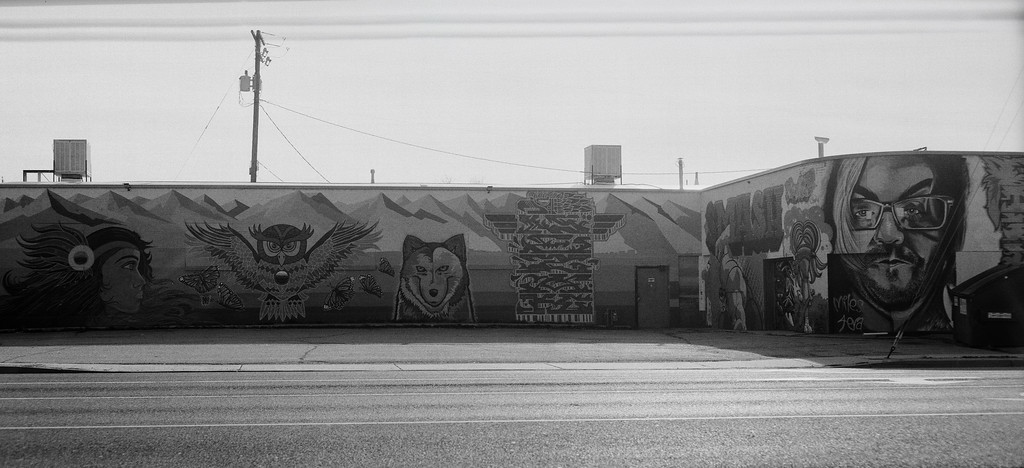
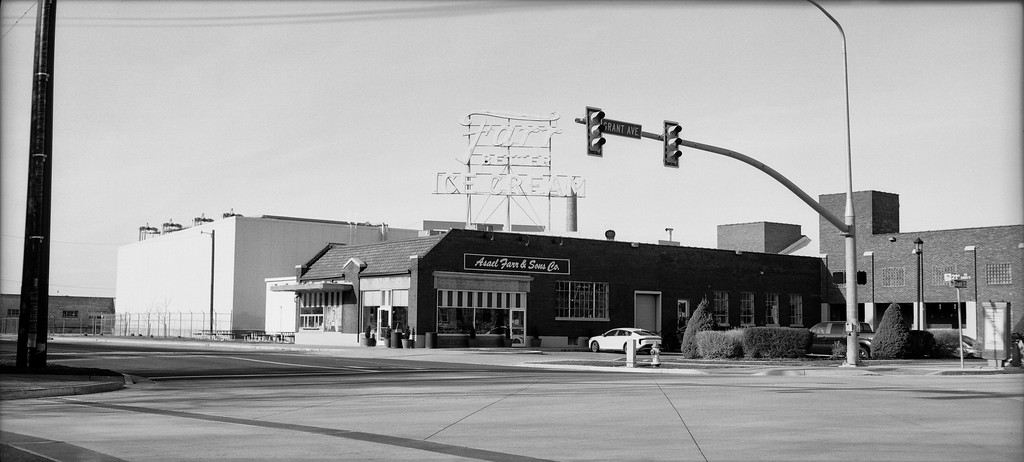
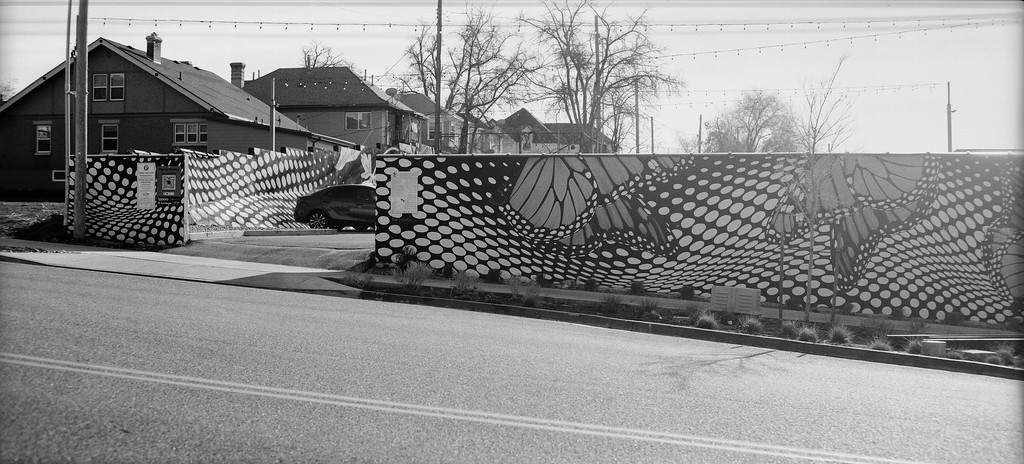
Since last February, I’ve made a range of images while experimenting with the 6X Mini—some good, some bad, and some simply meh. Regardless of the results, I’ve enjoyed trying something new. This year, I’ve also spent more time on large-format photography and completed two Nick Carver Photography courses: Large Format Photography and Master Manual Metering for Film Photography. The principles taught in both courses also apply to panoramic images shot on 120 film.
What’s next for the 6X Mini and my photography? I’d like to design and 3D-print an adapter that will let me use it with my Tachihara 4×5 field camera. The Tachihara is lighter and more compact than the Pacemaker, and I have better selection of lenses for it.
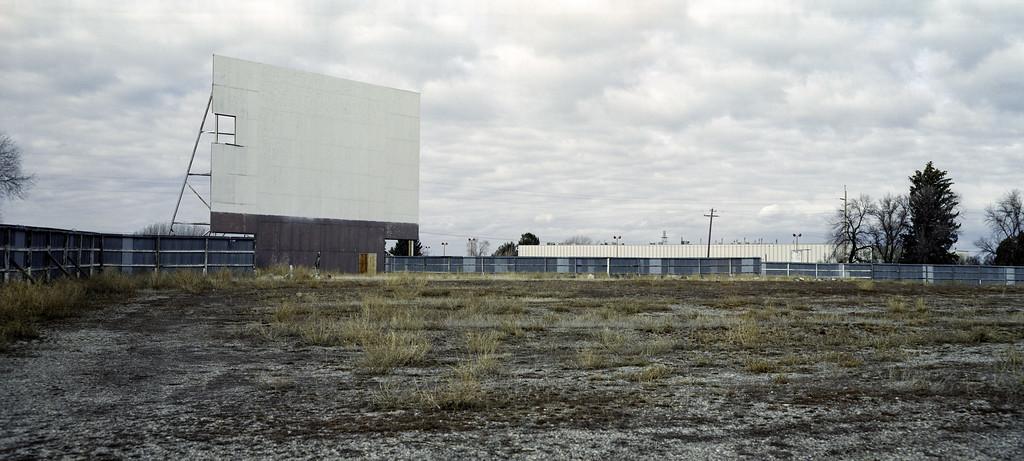
Camera: Graflex Crown Graphic Pacemaker (1955) with 6x Mini System (6×12)
Film: Ilford FP4+ ISO 125
Processed: Kodak HC-110 (1+31) 9:00 Min @ 20°C
Scanned: Epson V700 Photo
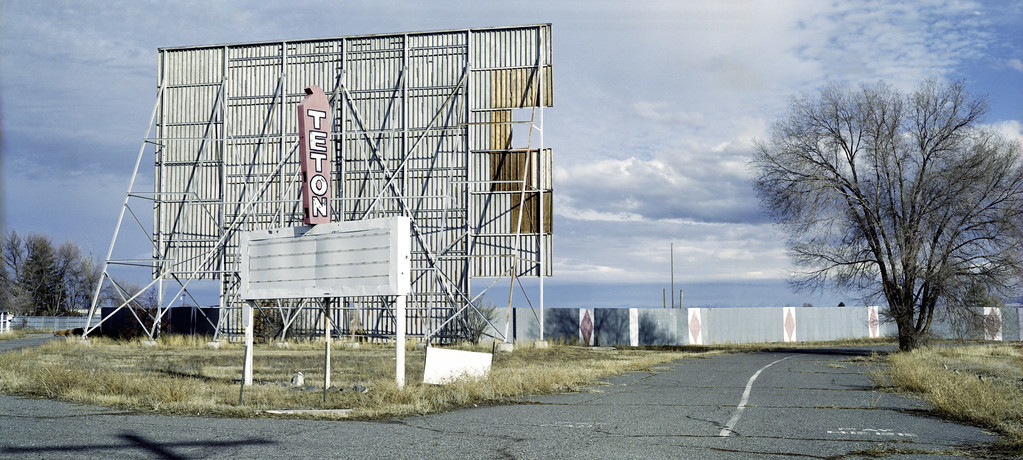
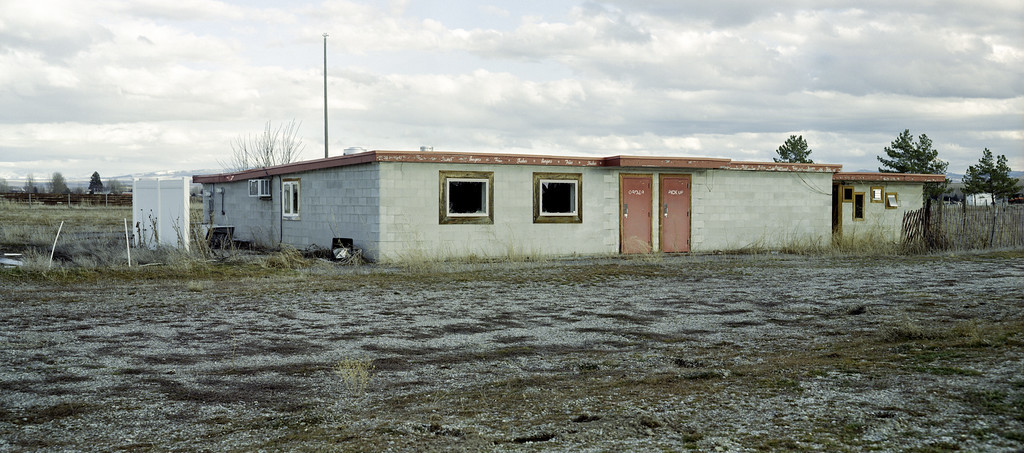
Camera: 6X Mini – Graflex Crown Graphic Pacemaker (1955)
Film: Kodak Gold 200
Processed: CineStill Cs41
Scanned: Epson V700 Photo